Building a pet store on WooCommerce takes five steps: theme and plugins, starter import, WooCommerce setup, categories and products, and an optional subscribe and save food option before launch. This guide uses Botiga's Pet Shop starter, a real, pre-built pet store, as the working example throughout.
What you'll need
Before starting, make sure you have:
- A WordPress site with WooCommerce installed and active
- The Botiga theme and Botiga Pro plugin (the Pet Shop starter site requires it)
- Your own product data ready: names, prices, images, descriptions, for whatever you'll add after the import
1. Install and activate the Botiga theme and Botiga Pro plugin
From your WordPress dashboard, go to Appearance > Themes > Add New. Search for Botiga. Install it, then activate it.
Success signal: Botiga appears as the active theme under Appearance > Themes. Your site's front end switches to Botiga's default layout.
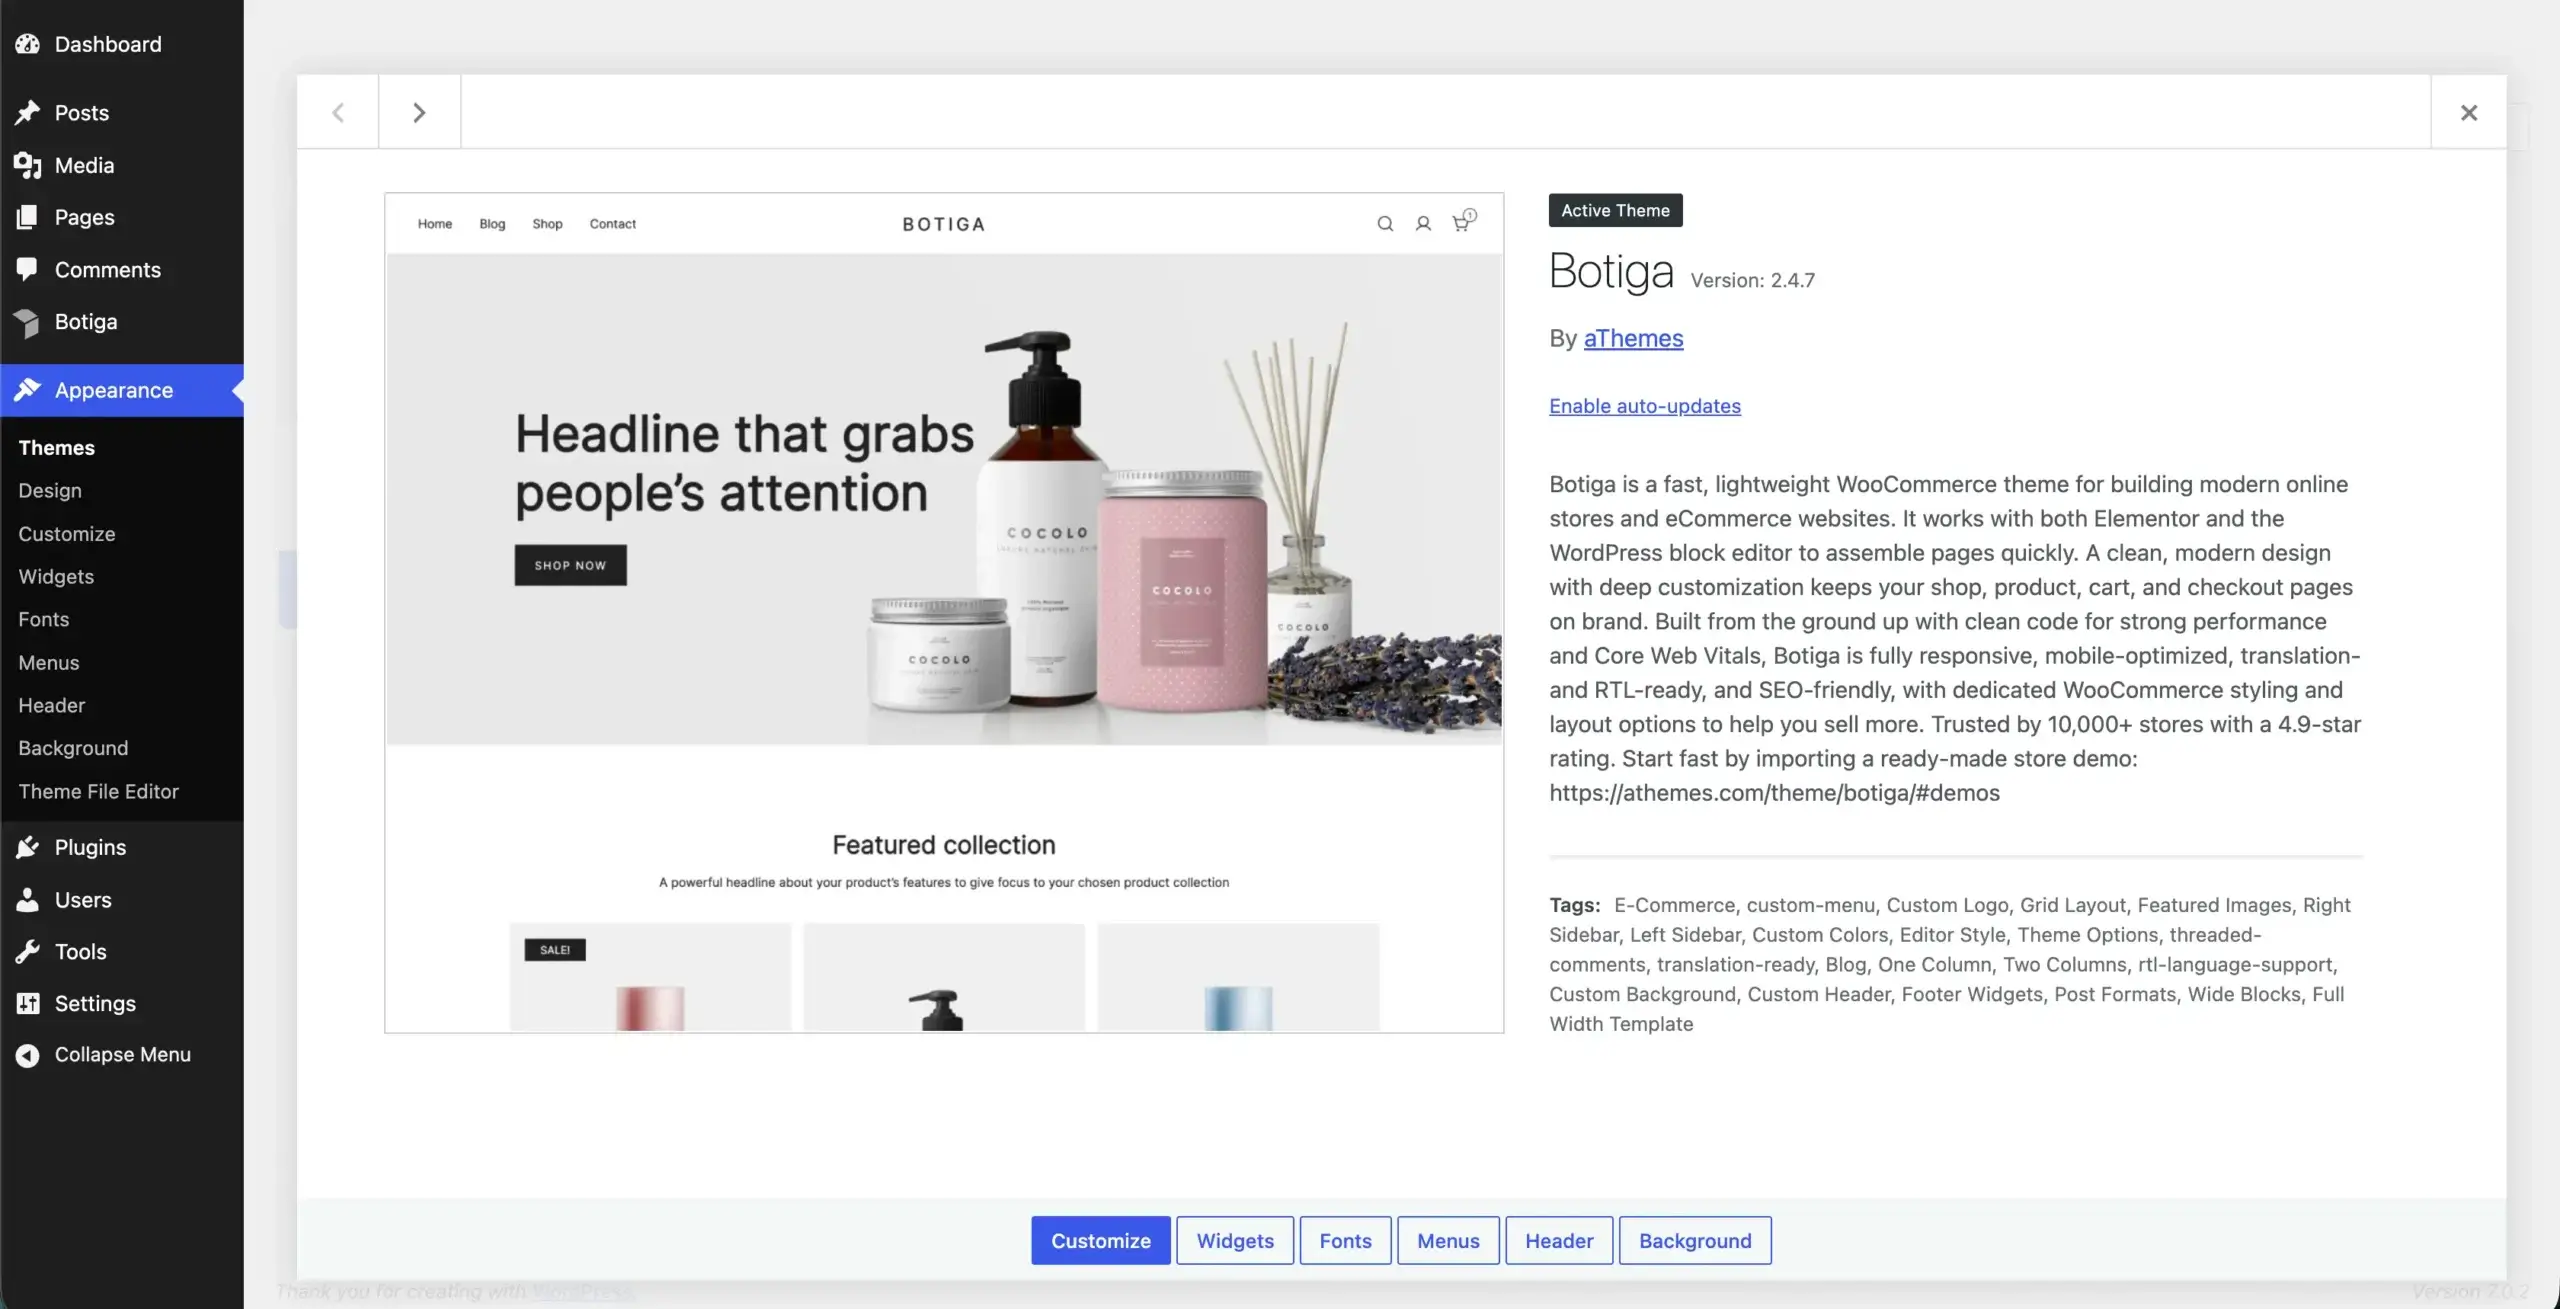
Botiga Pro is a separate plugin from the free theme that adds lots of premium features to the free Botiga theme. The Pet Shop starter specifically requires it active. After purchasing Botiga Pro, download the plugin from your aThemes account or your welcome email.
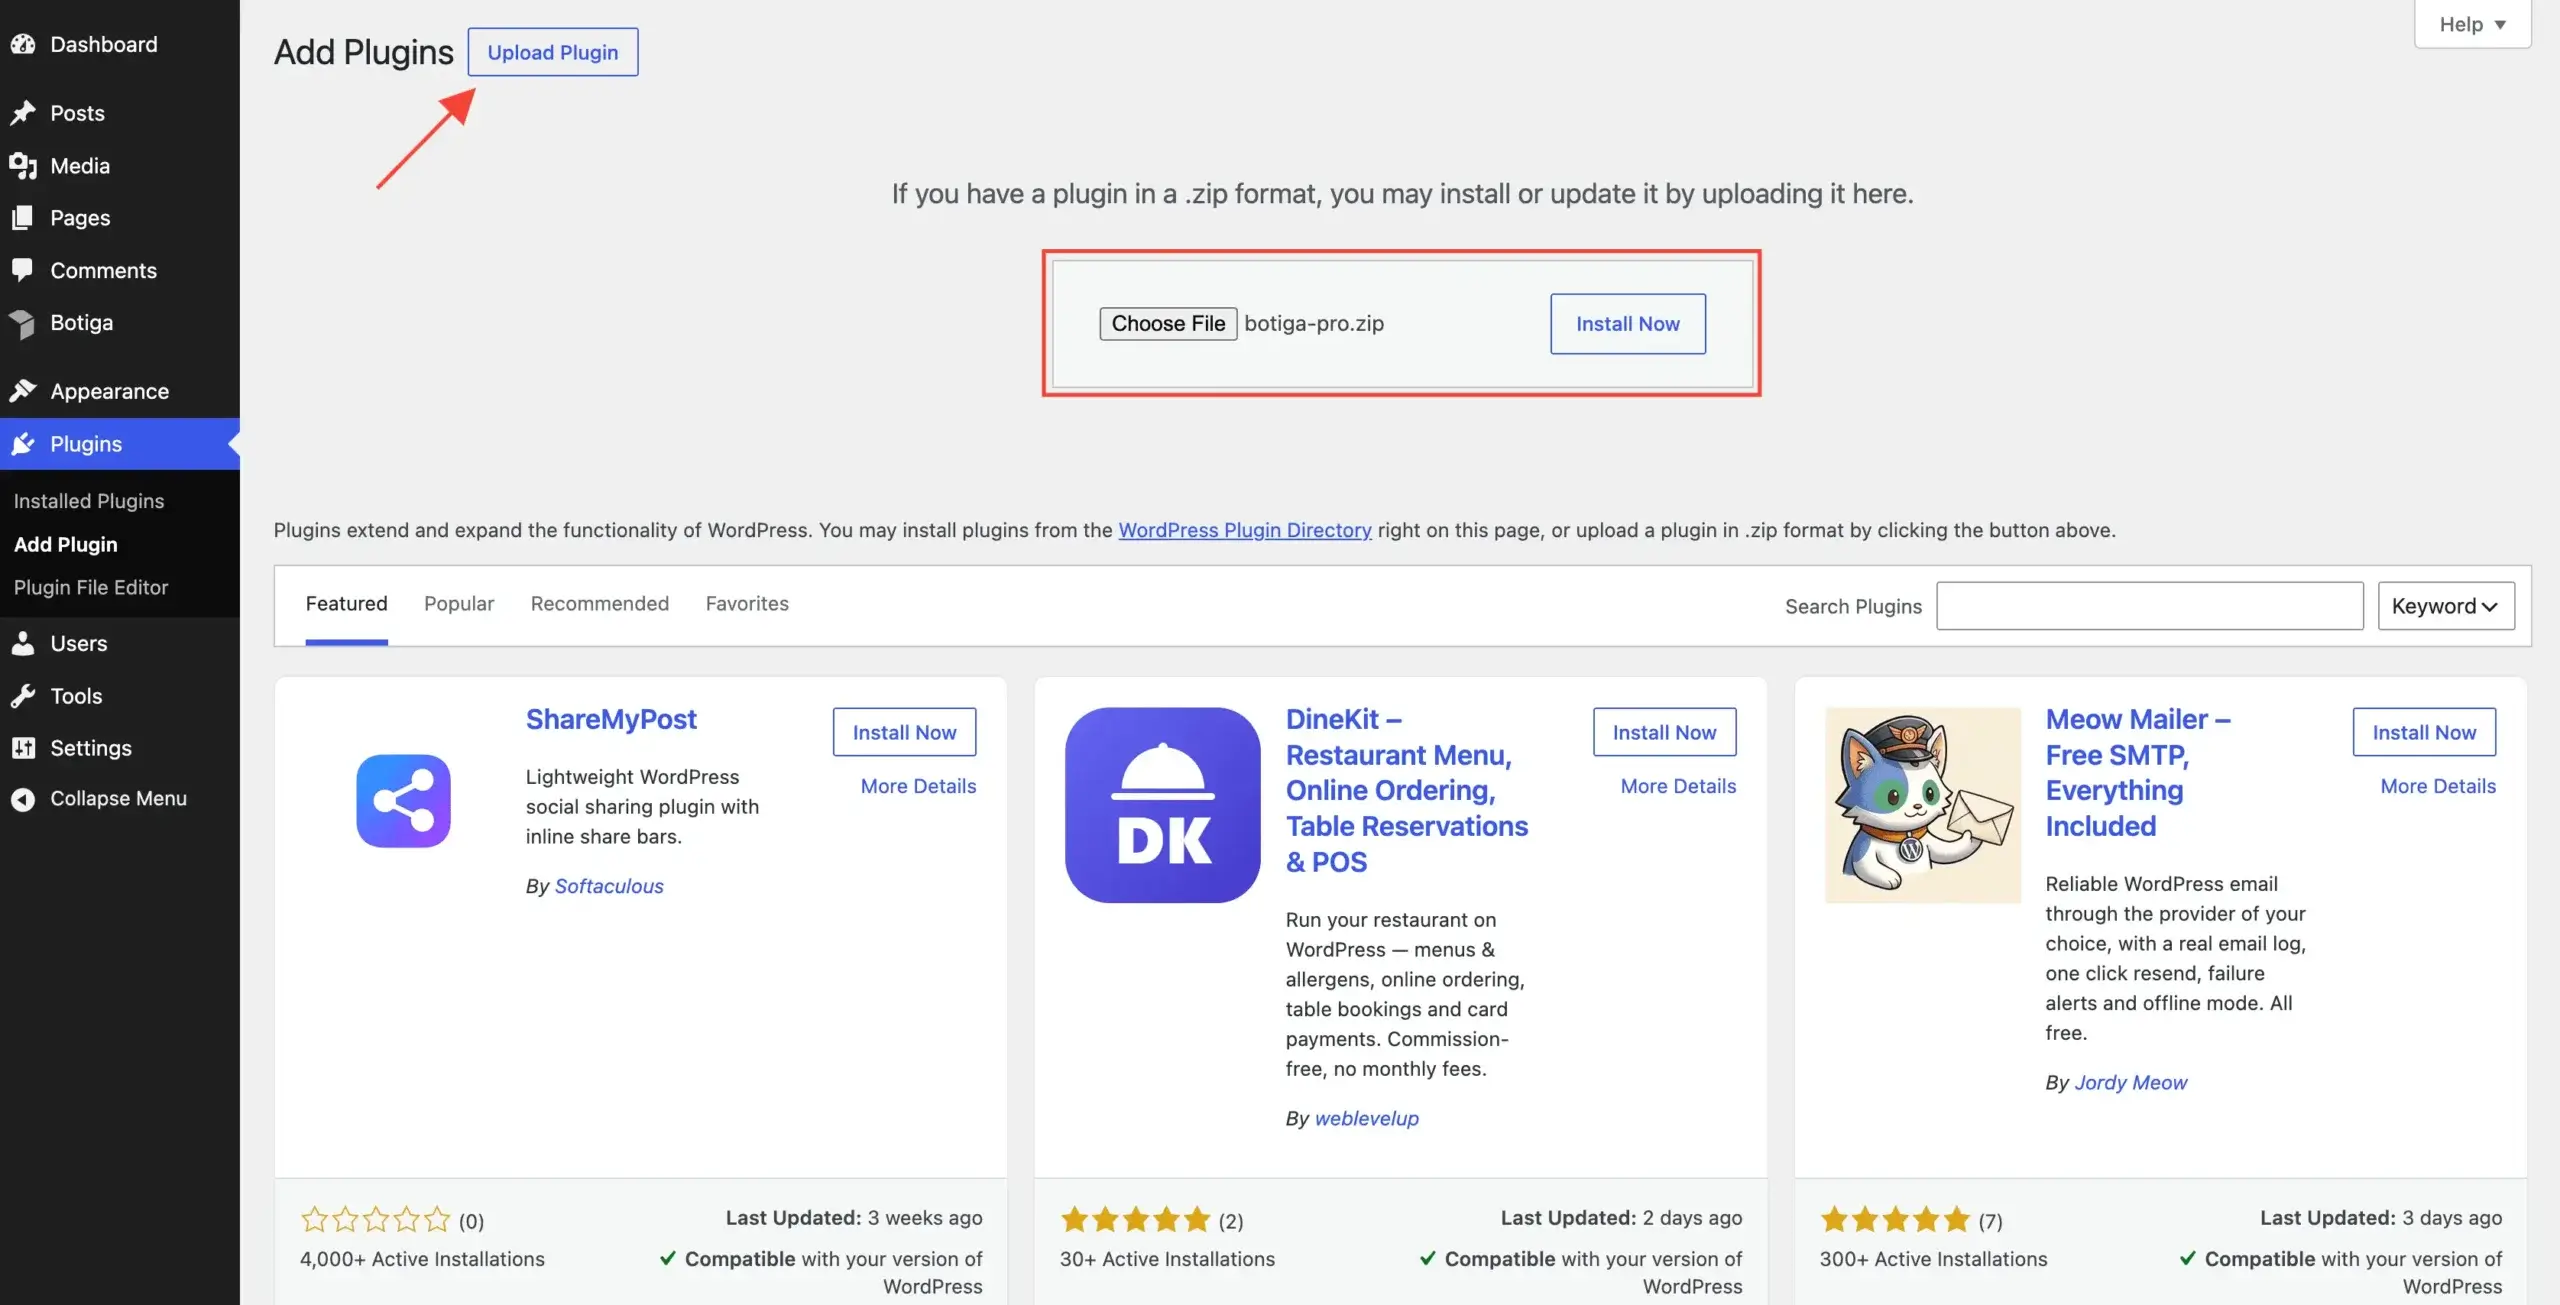
Install it the same way you'd install any licensed plugin: upload the plugin file under Plugins > Add New > Upload Plugin. Then activate it and enter your license key.
2. Import the Pet Shop starter site
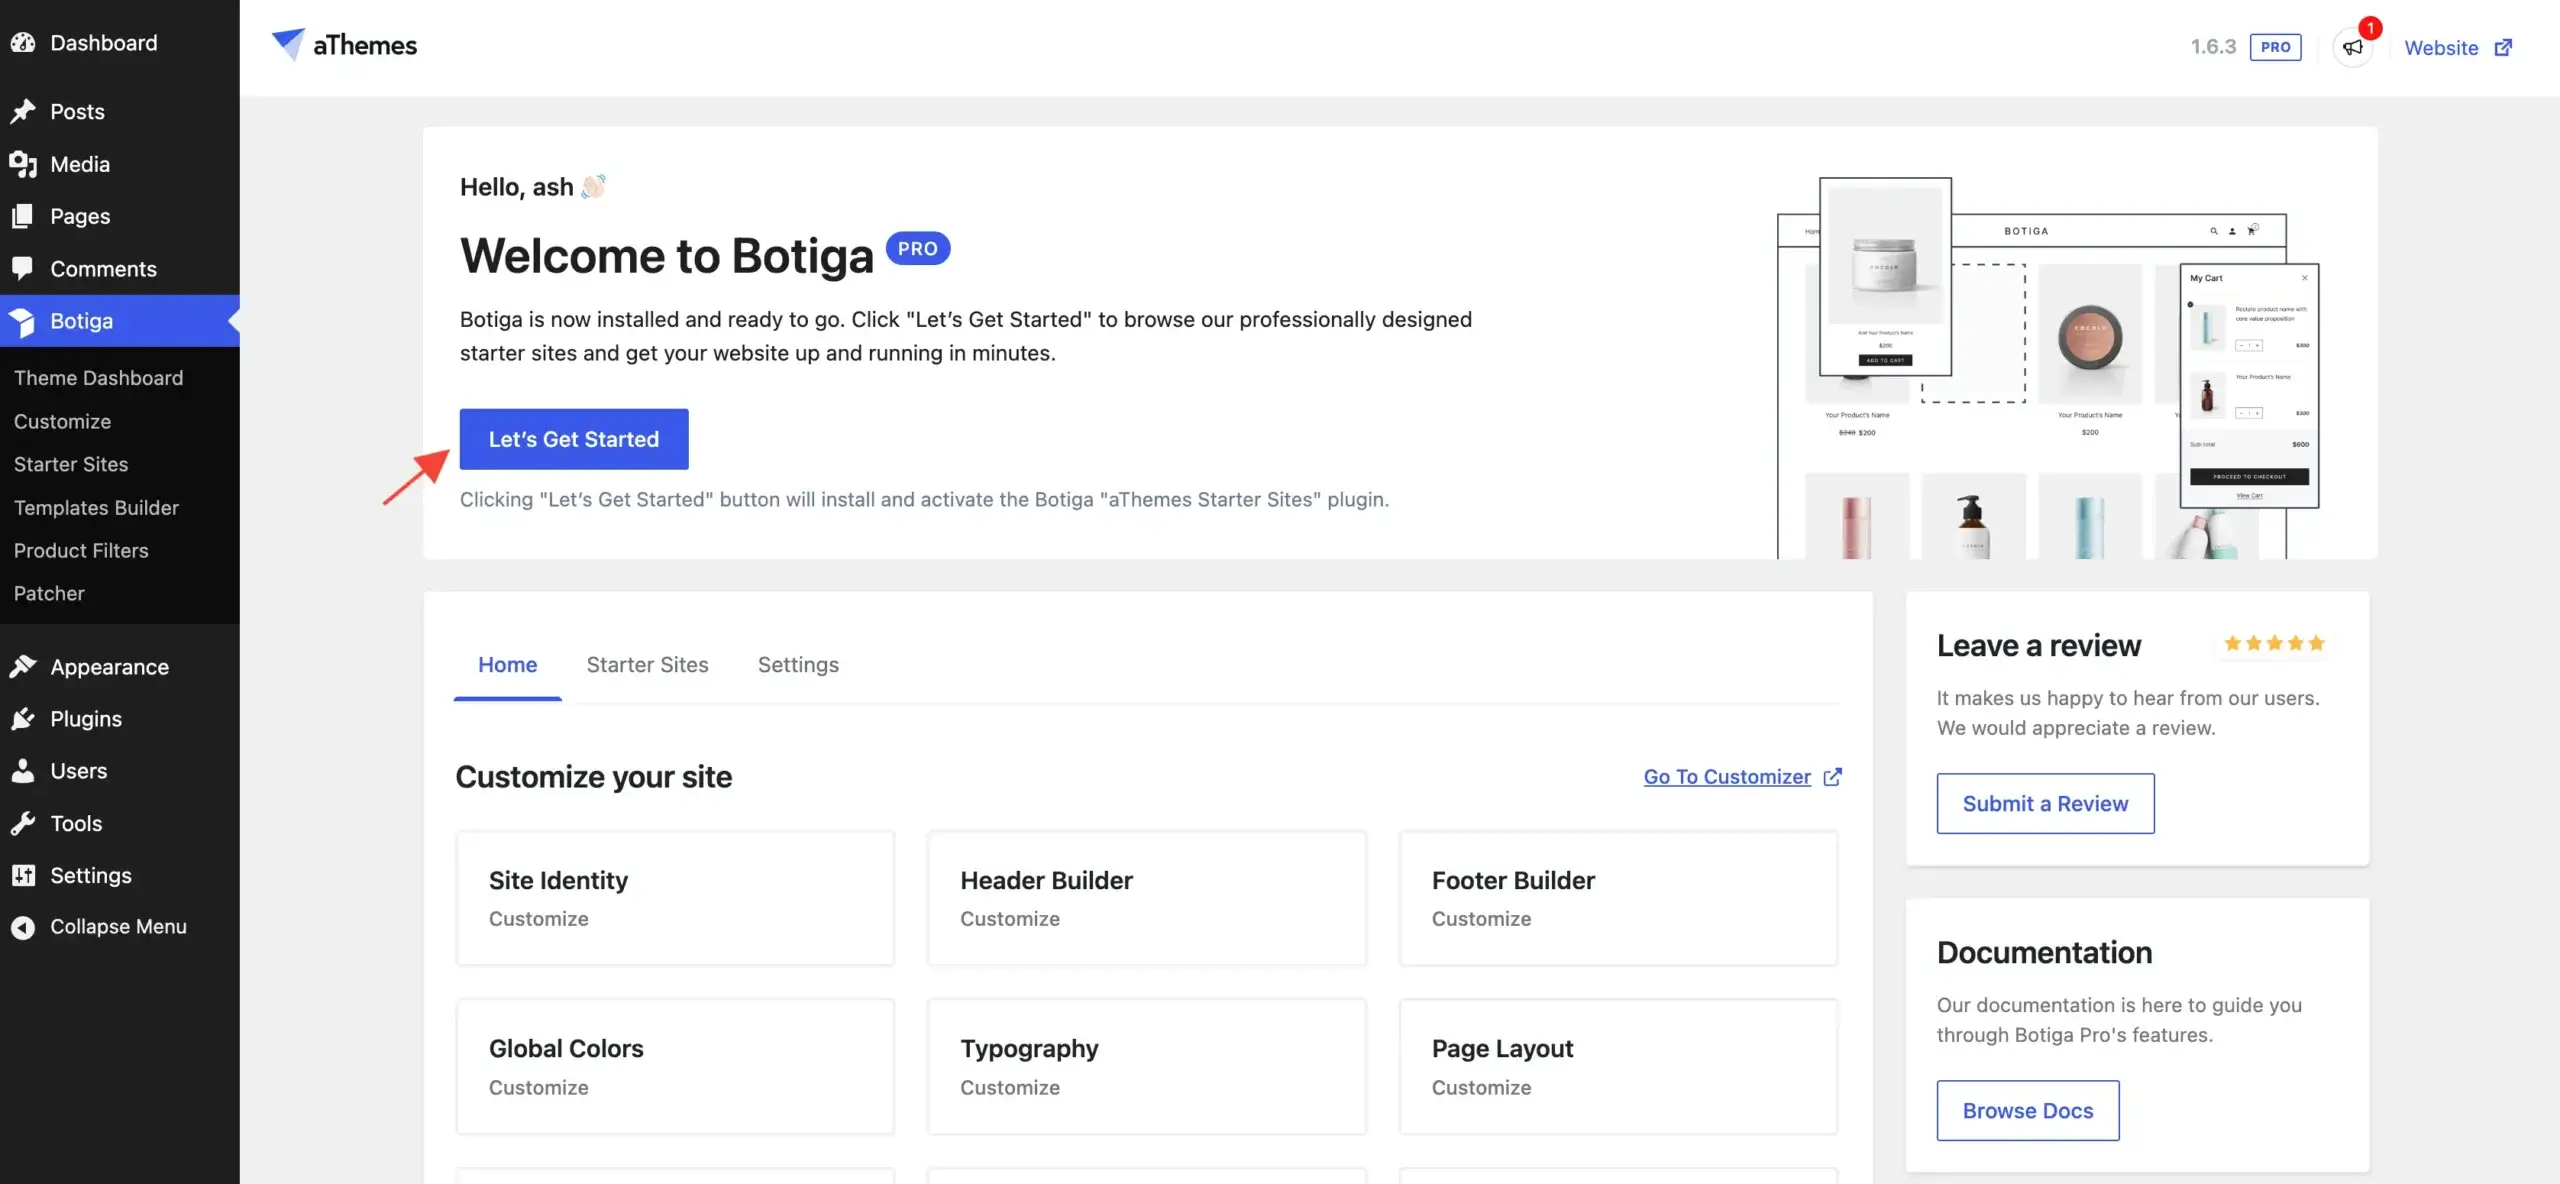
With Botiga and Botiga Pro both active, a banner is prompting you to launch the onboarding wizard and get started.
Click “Let's Get Started”, then choose either the Block Editor or Elementor as your preferred page builder.
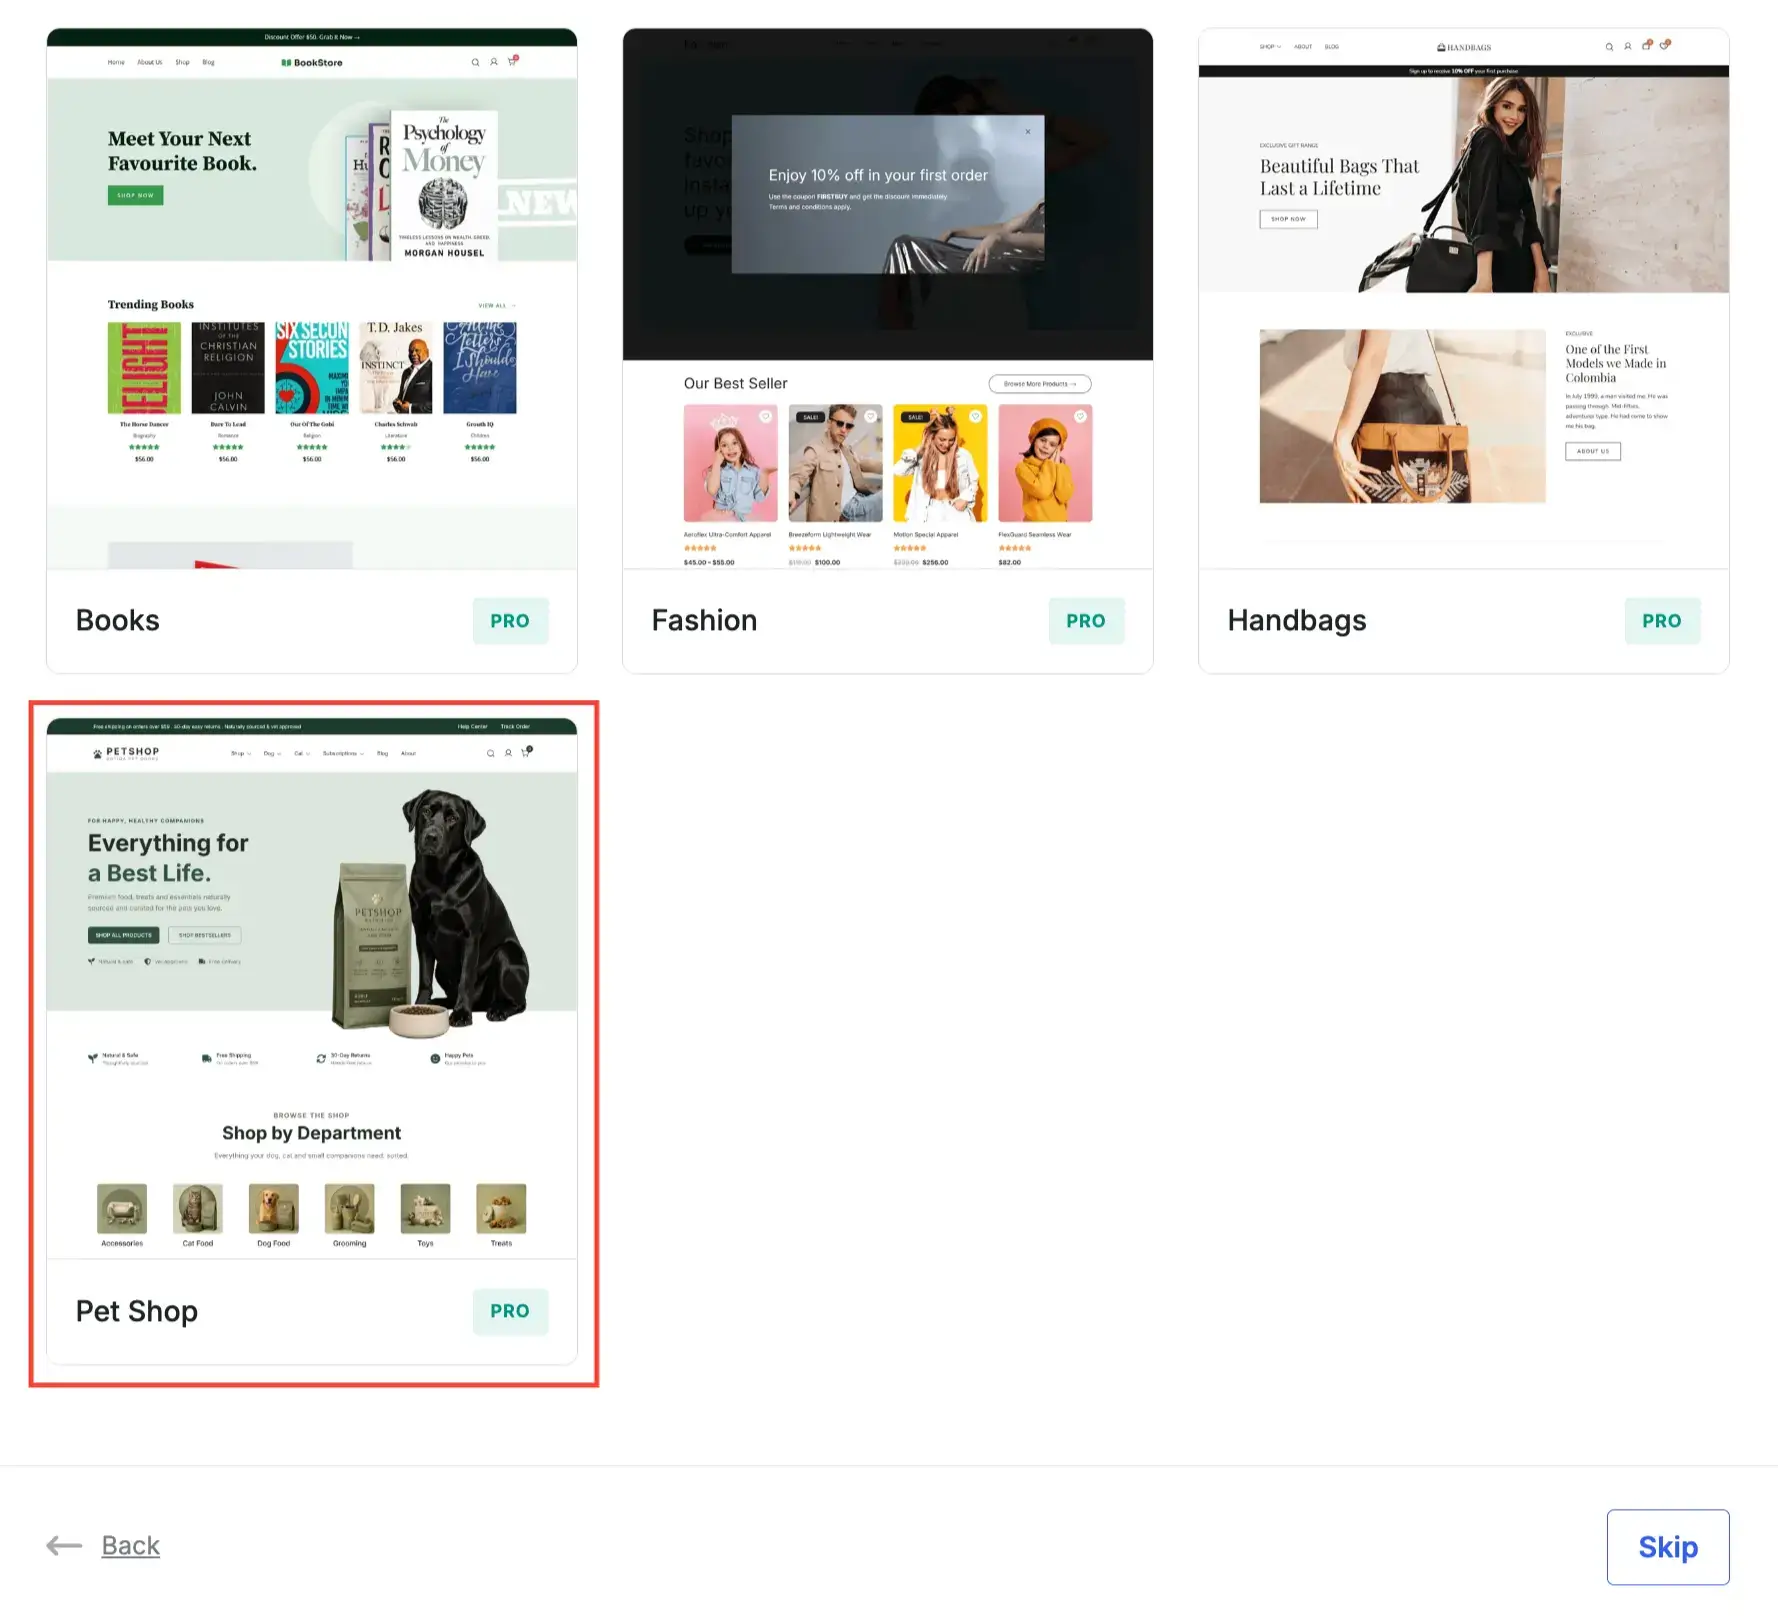
Find the Pet Shop demo in the starter site list and select it. You'll be able to choose which pages to include.
Pick a color palette and font from Botiga's presets, or keep the defaults. You can customize the colors to match your brand, and set your site title and logo here too.
Next, you'll see the list of plugins the import needs. This includes Sublium (a free WooCommerce subscription plugin) and, if you kept the contact page selected, WPForms.
You can deselect any recommended plugin you don't want. Then click to start the import.
The import installs the required plugins and imports the demo content, widgets, and settings. This includes the demo's product categories, sample products, and a ready-to-use food subscription plan powered by Sublium.
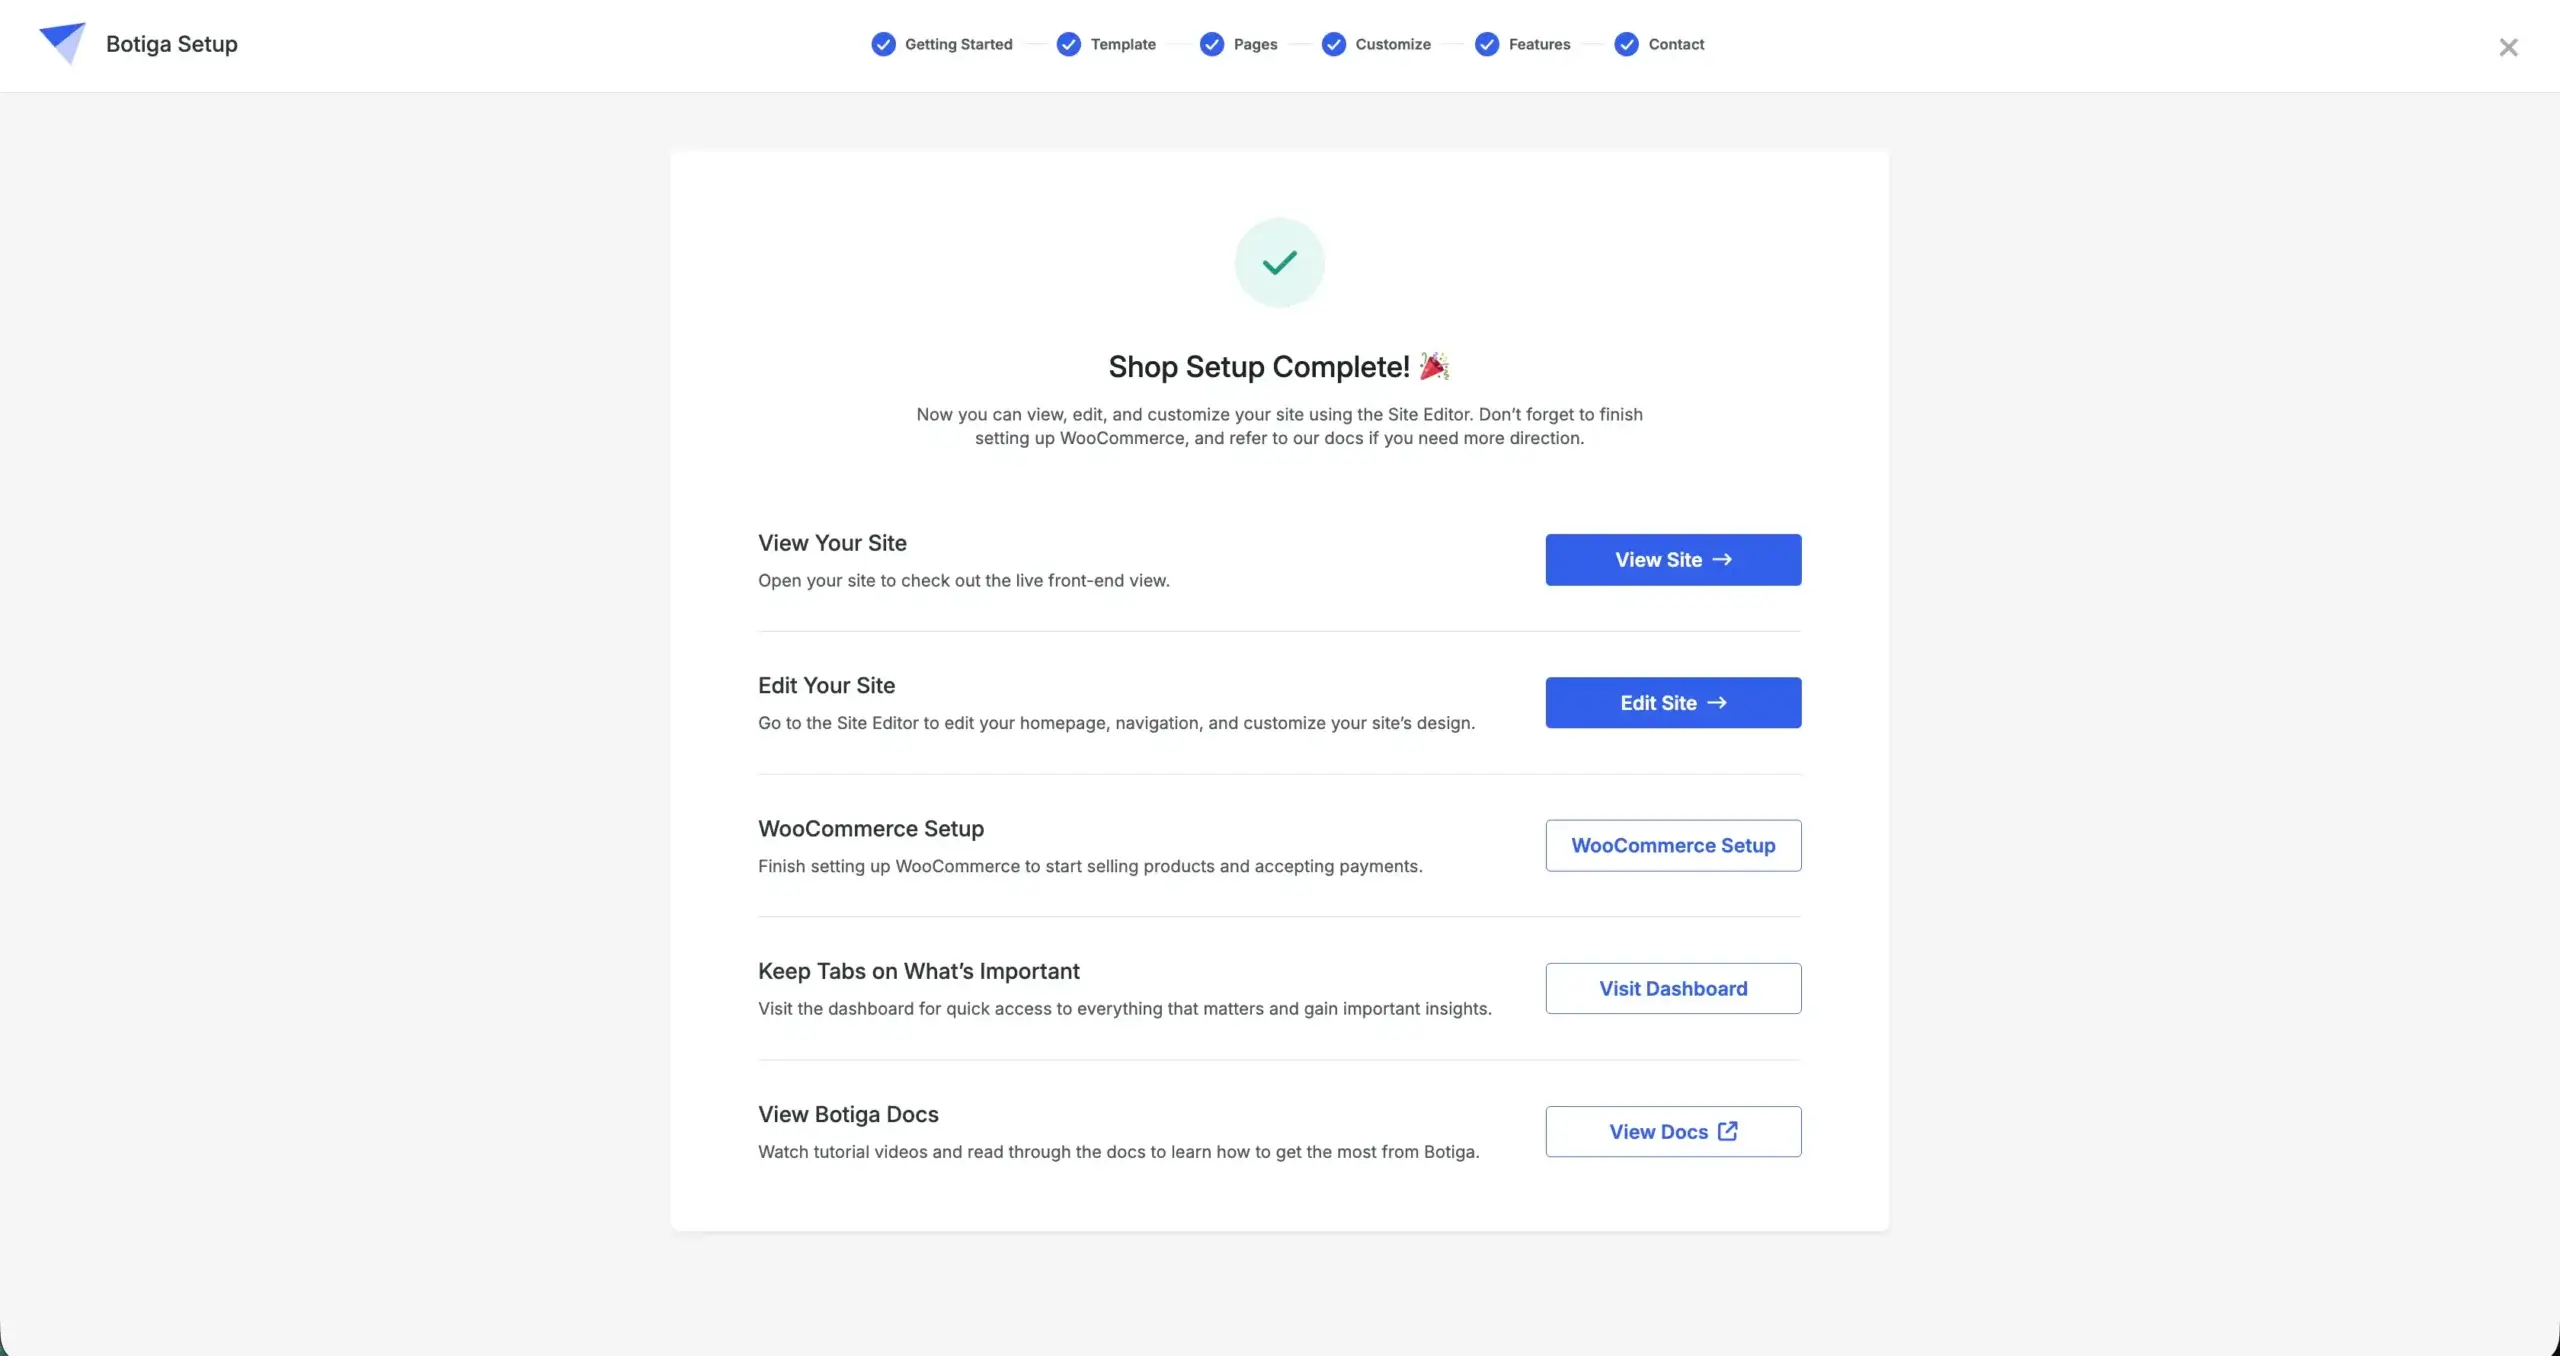
Success signal: the final import screen shows setup as complete. Previewing your site shows the same layout, categories, and products as the live Pet Shop demo.
3. Run the WooCommerce setup wizard
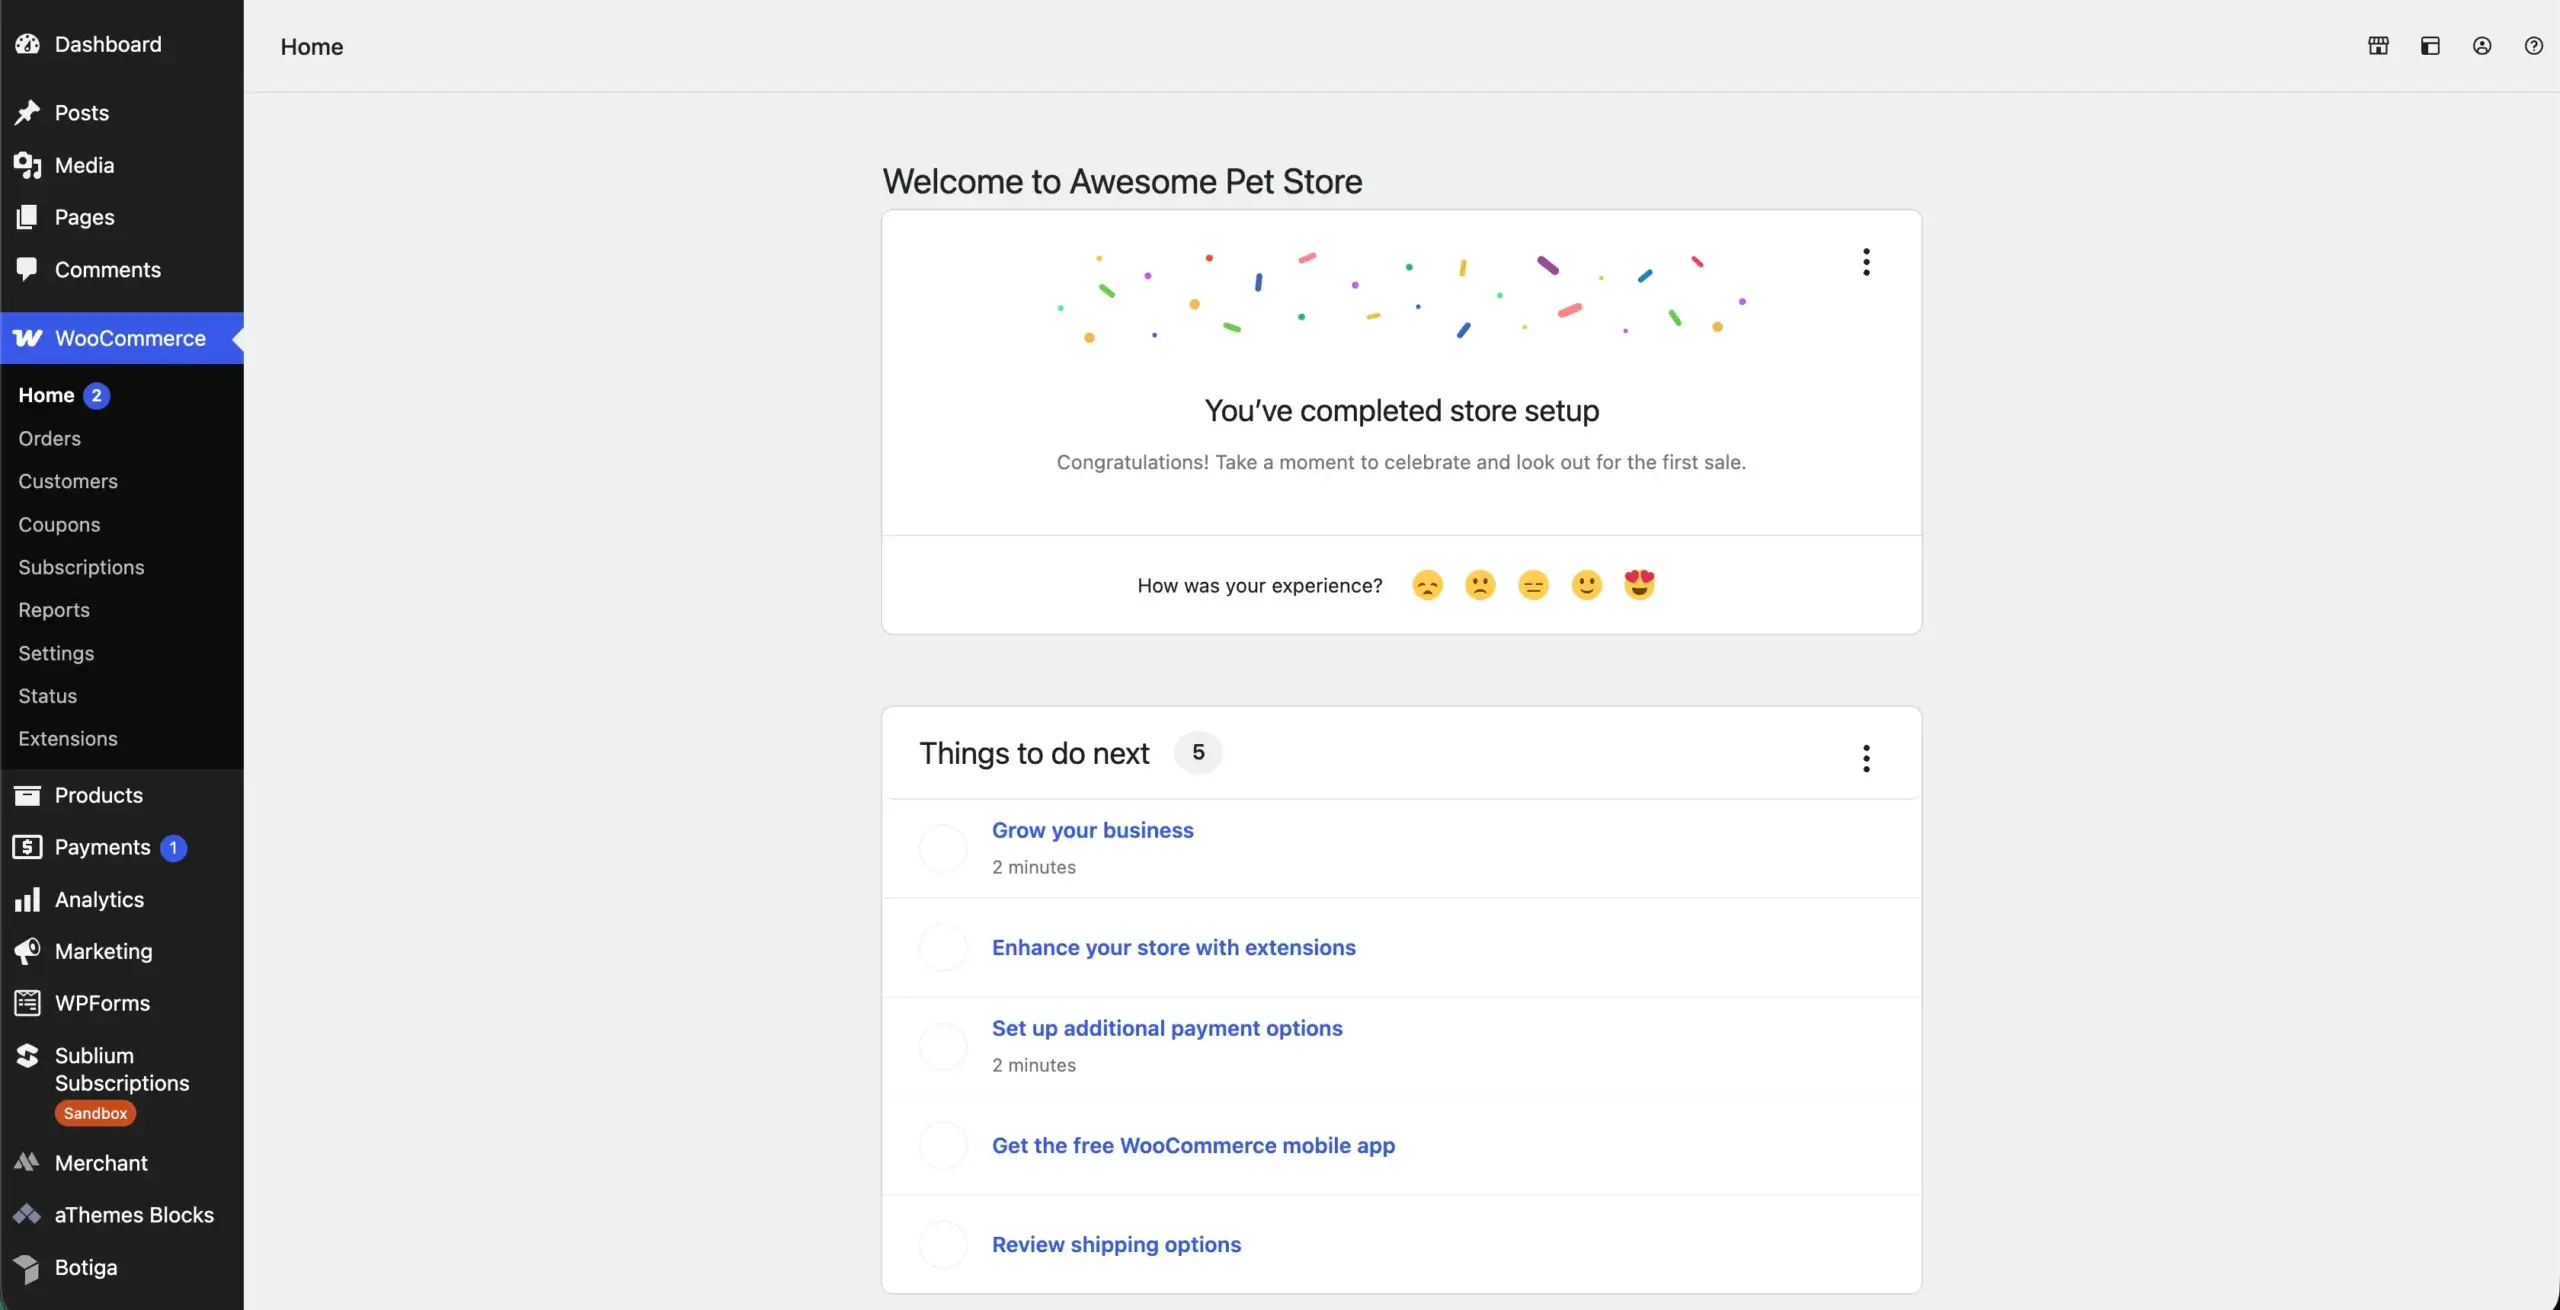
Skip this step if WooCommerce is already configured on your site. Otherwise, go to WooCommerce > Home, and run through the setup wizard: store address, currency, payment methods, shipping zones, and tax settings. If you plan to use the subscription product, choose at least one payment gateway that supports recurring payments.
Success signal: WooCommerce > Home shows setup tasks as complete. A test product's cart and checkout flow work end to end.
4. Add your own products
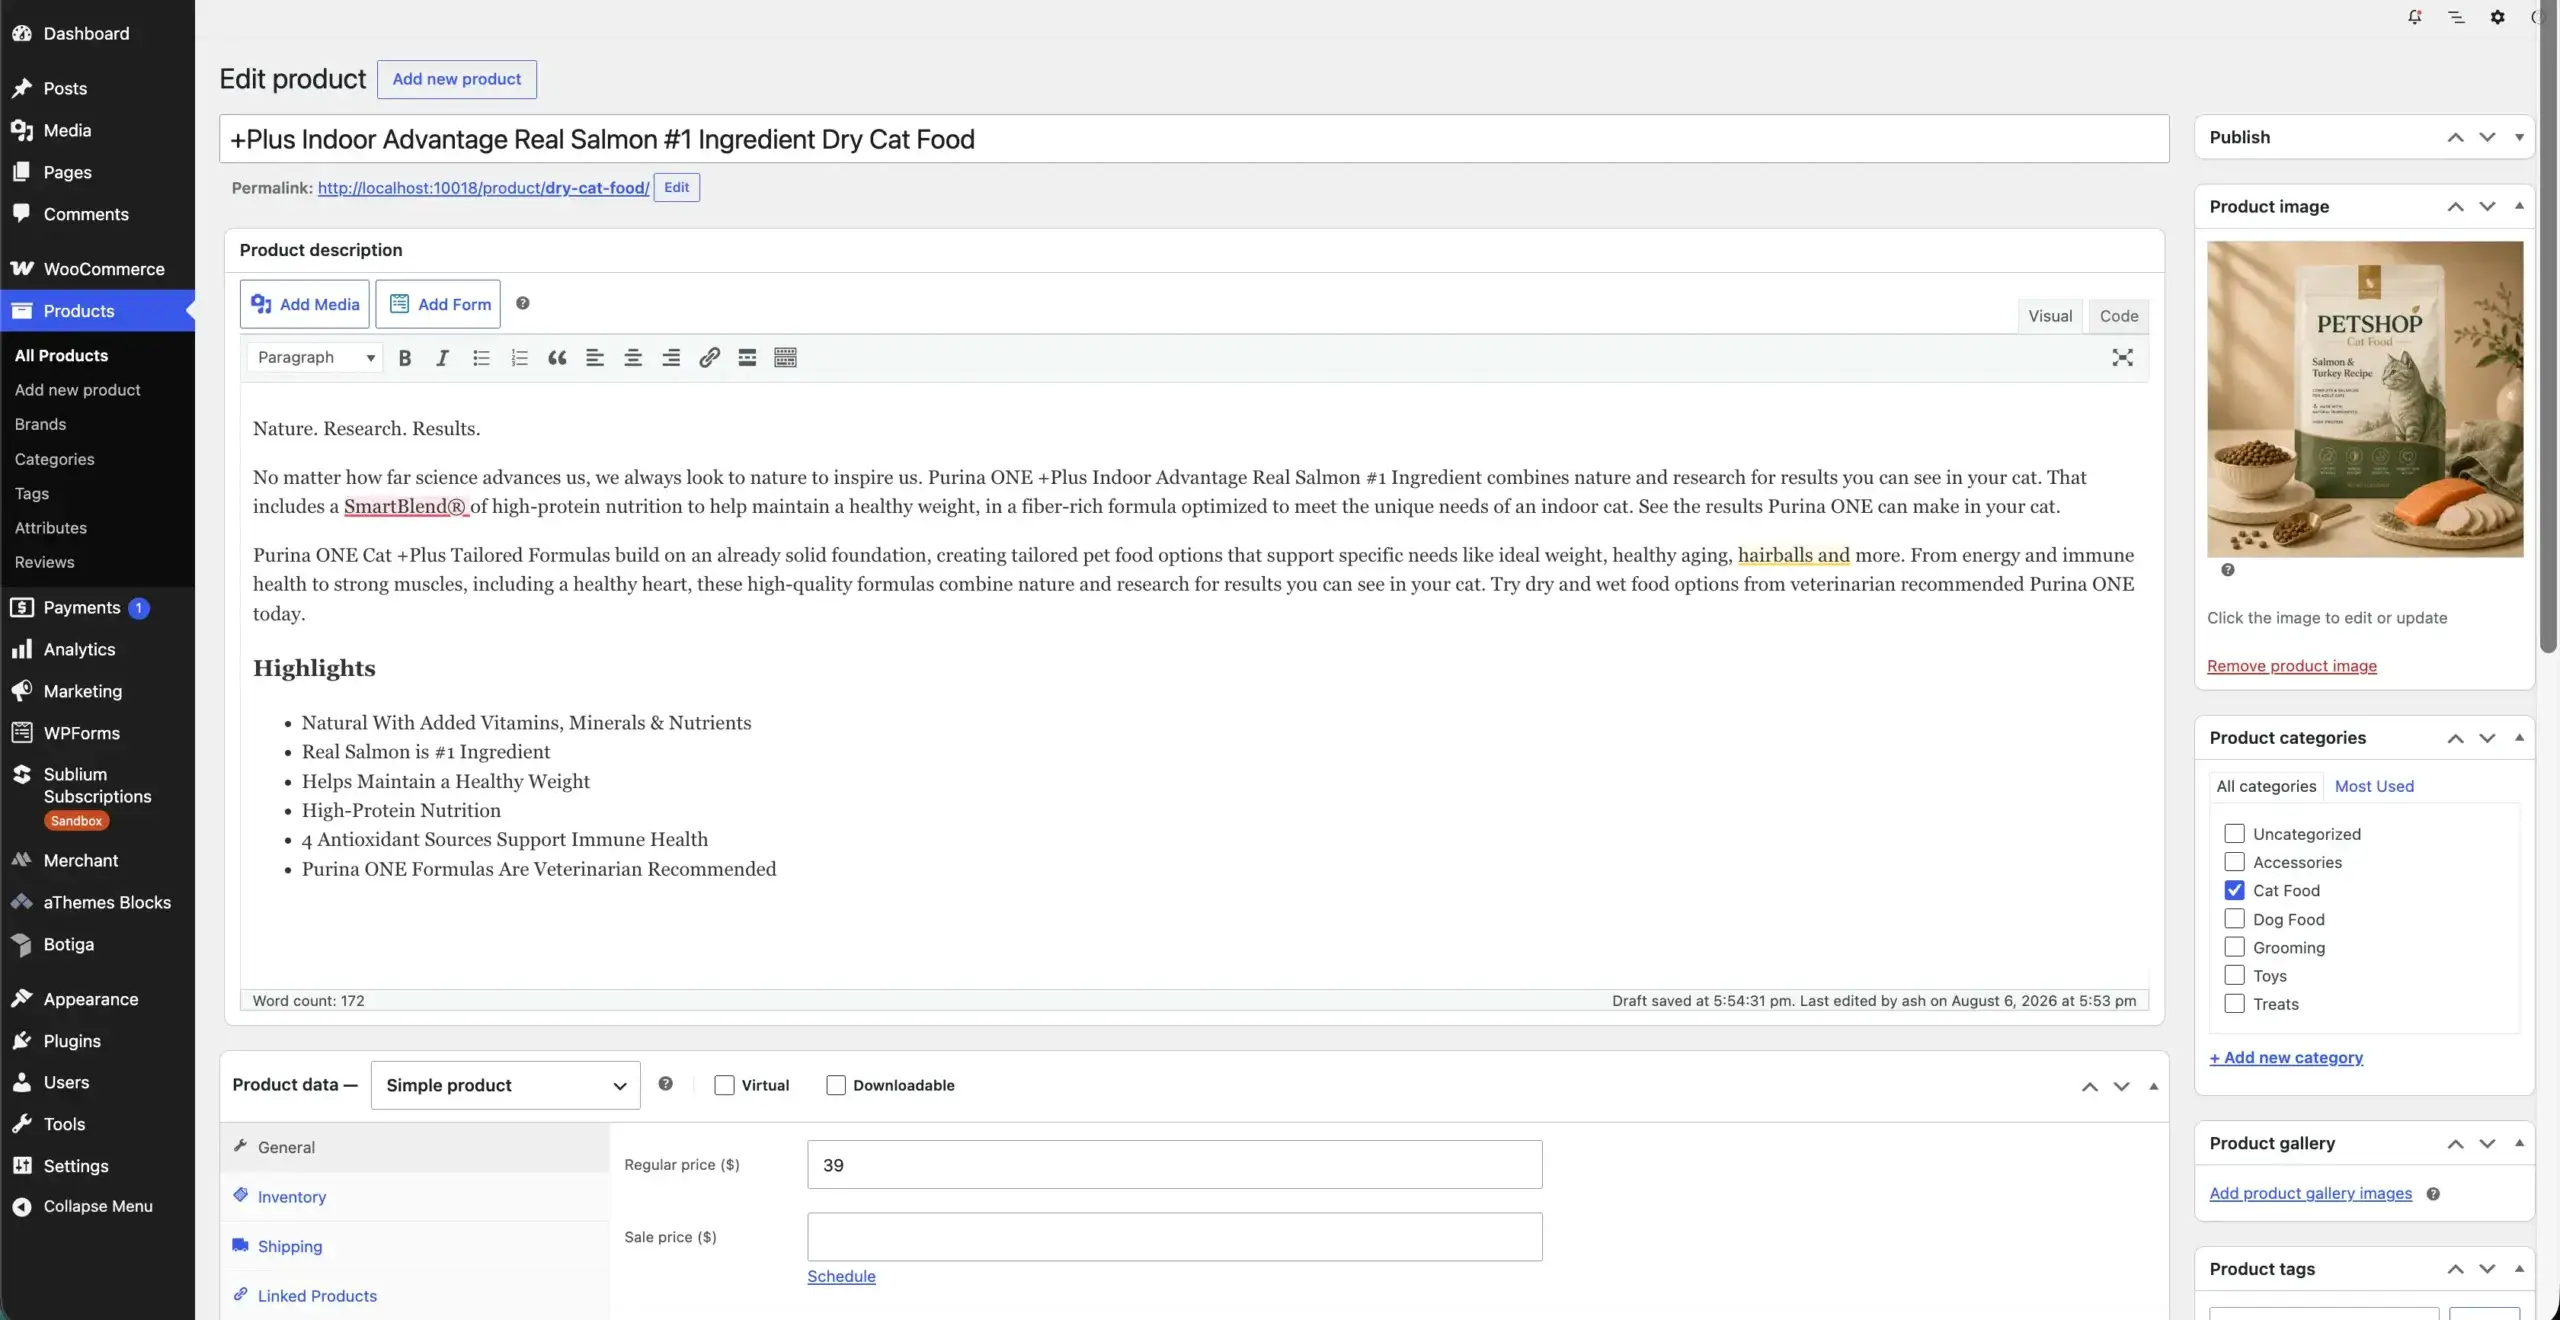
The starter ships with its own demo products across several categories: Accessories, Cat Food, Dog Food, Grooming, Toys, and so on. Replace them with your own inventory under Products > Add New. Assign each product to the category it belongs in.
For products with size or flavor options, use variation swatches. A single listing can then carry multiple variants at different prices, instead of a separate product per variant.
Success signal: each new product appears on its category page on the front end, with the correct price. Variable products show a working options dropdown.
5. Setting up a subscribe and save food product
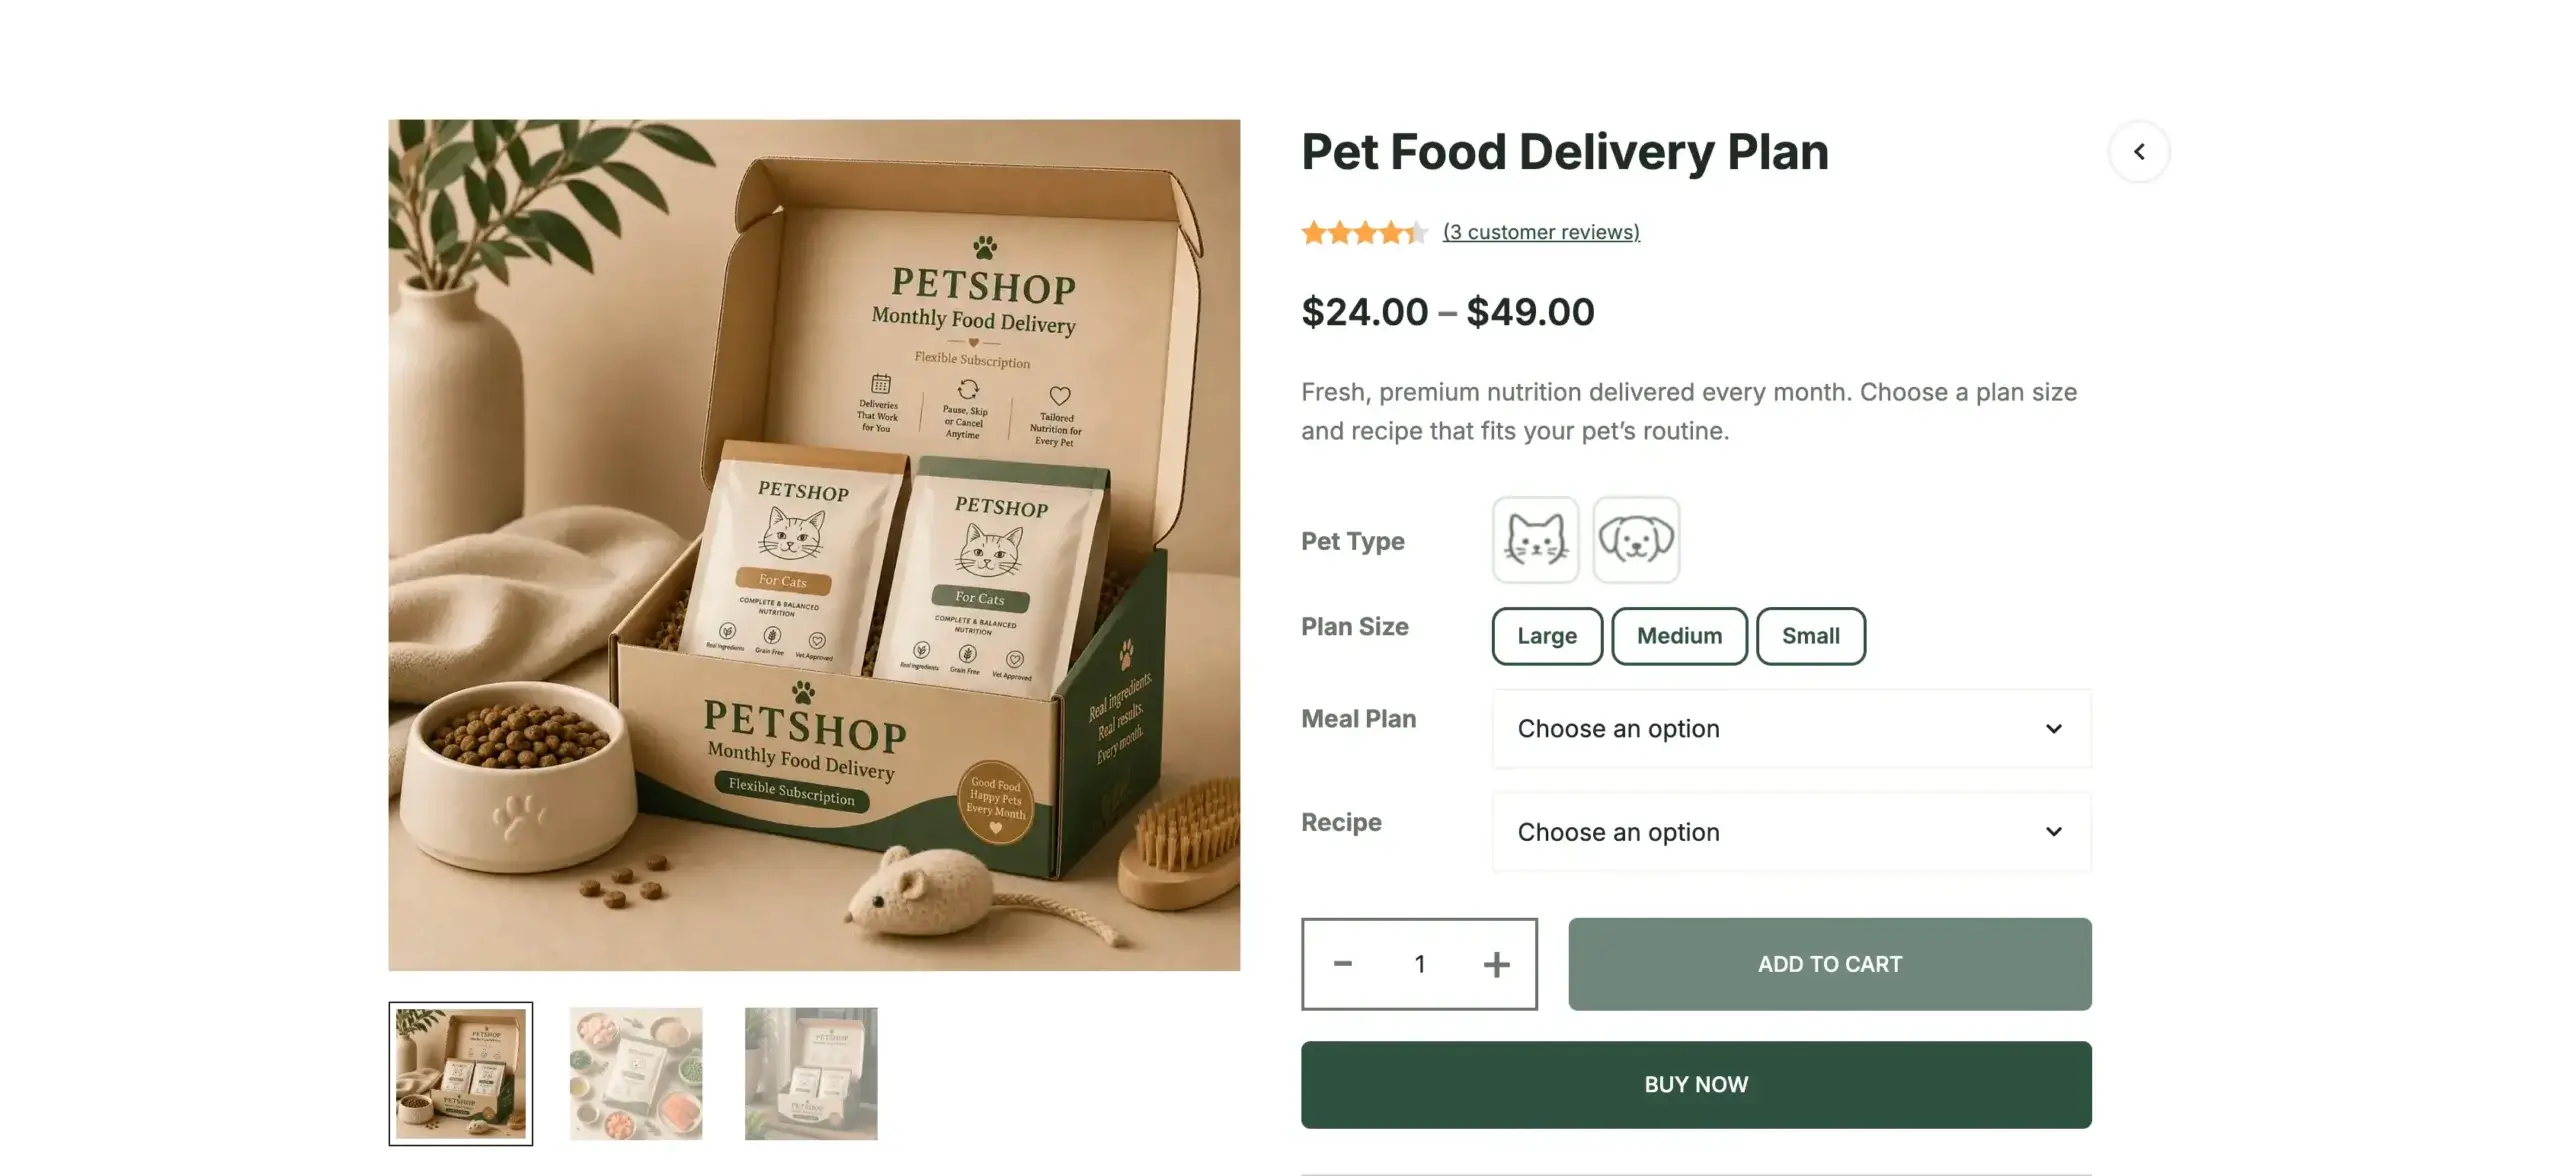
The starter's recurring food product runs on Sublium Subscriptions, a free plugin from wordpress.org built by FunnelKit. The import already created a Sublium plan (Monthly Food Delivery) matching the demo's subscription product.
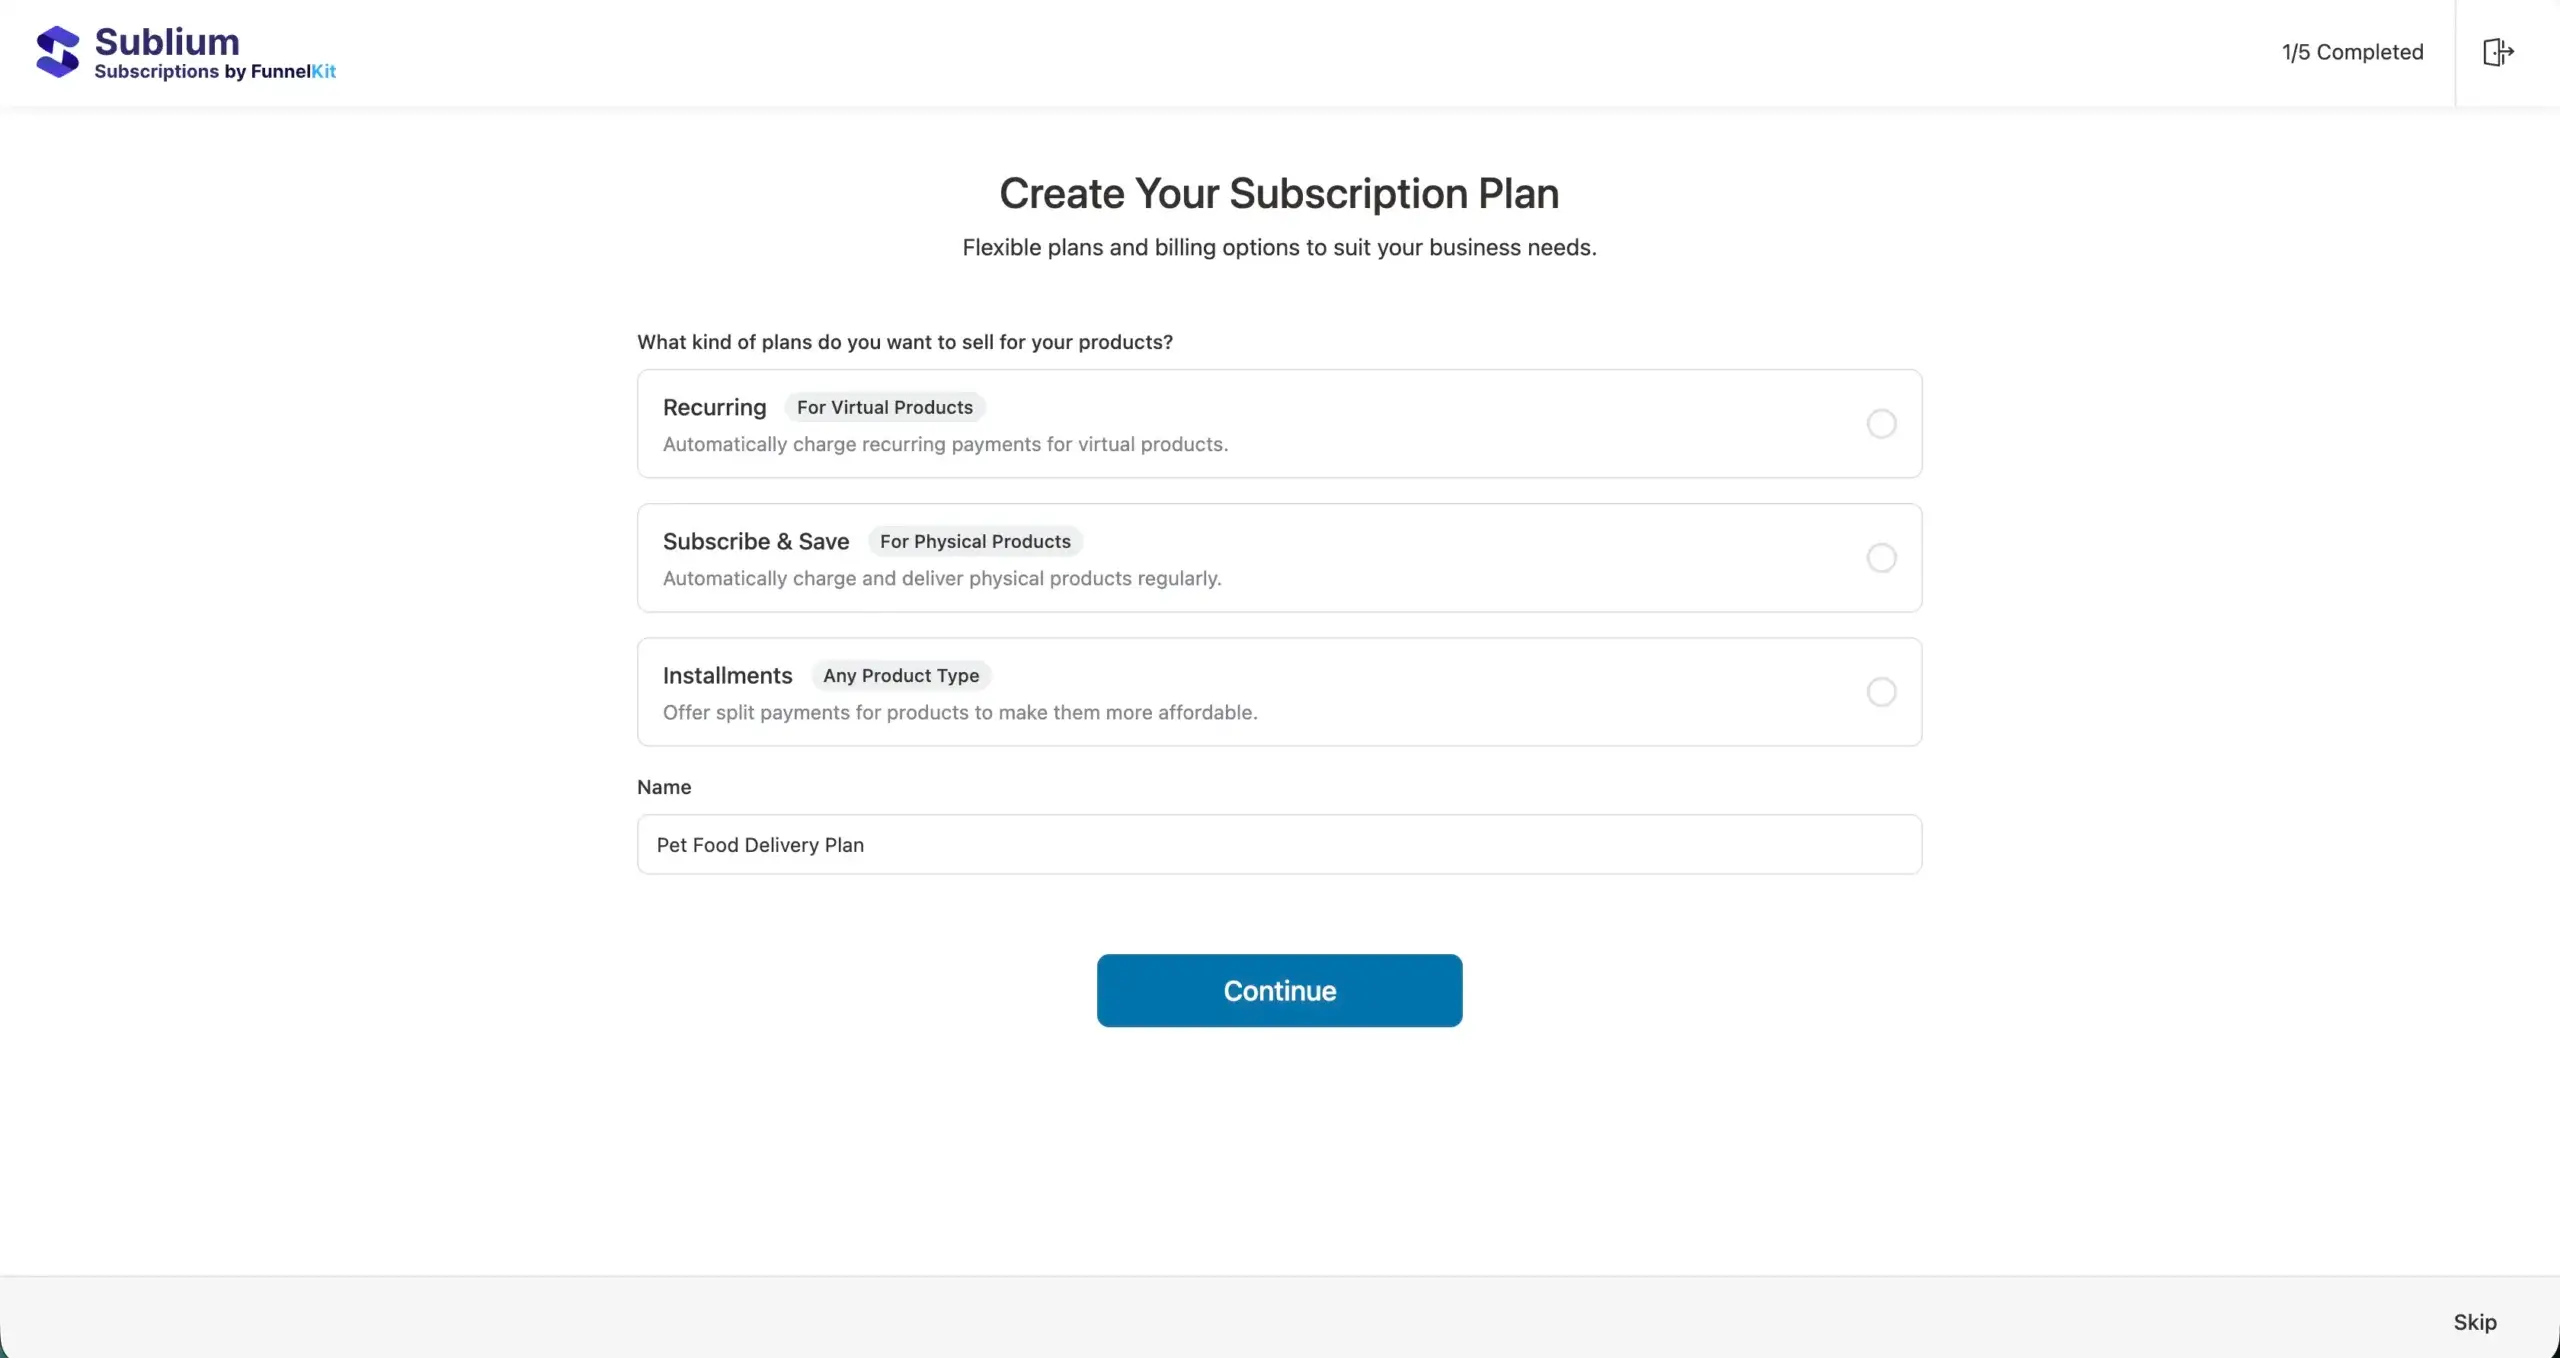
To set up your own: open Sublium's onboarding wizard from its plugin page. Follow it through creating a plan, interval, duration, and any renewal discount. Then attach that plan to a variable product, so each variant (bag size, flavor) inherits the same recurring option.
Success signal: the product page shows a subscription option alongside (or instead of) a one-time purchase. A test subscription appears under Sublium's dashboard after checkout.
Ready for selling
At this point you have a live pet store. Botiga and Botiga Pro are active, and the Pet Shop starter is imported. WooCommerce is configured, your own products are in place, and a subscribe and save option is live.
From here, test a full checkout with a real payment method in test mode. Then review the imported categories and demo copy against your own catalog before launch.


